Switch from Family Tree Maker to MacFamilyTree and import your family tree
You are looking for a native and powerful Mac genealogy app which is why you want to turn your back on ported Windows software like FamilyTreeMaker? This tutorial explains how to easily switch from Ancestry Family Tree Maker to Synium MacFamilyTree and how to migrate your data from Family Tree Maker to MacFamilyTree
There are two easy steps to perform
Step 1: Export your family tree to the GEDCOM file format. GEDCOM is a genealogical file format designed to exchange data between genealogy apps.
Step 2: Import this GEDCOM file with MacFamilyTree or MobileFamilyTree.
1. How to export your family tree as GEDCOM file with Family Tree Maker
– Open your family tree in Family Tree Maker for Mac
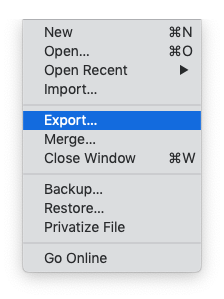
– Chose „Export…“ in the file menu
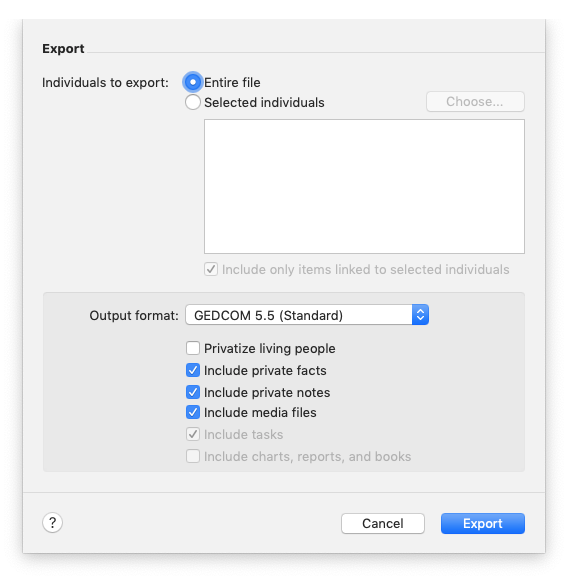
– Chose where to store your tree and save it
(If you are using media items in your family tree, please have a look at the section „Attention: Media file import“ at the bottom of this article
2. Import this GEDCOM file with MacFamilyTree or MobileFamilyTree.
In case you were using Family Tree Maker on your Windows PC, please copy the GEDCOM file and the media folder to you Mac (for example by using an USB stick with the FAT32 format)
a) Import in MacFamilyTree
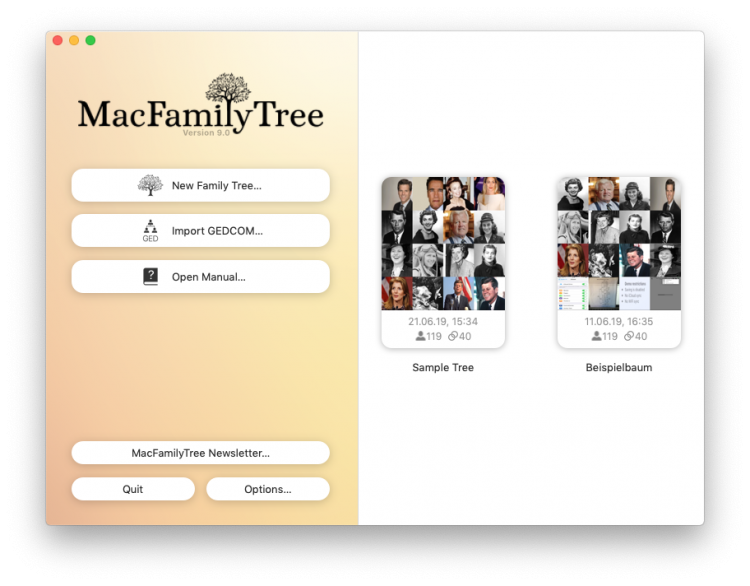
– Open MacFamilyTree
– Click on „Import GEDCOM file…“
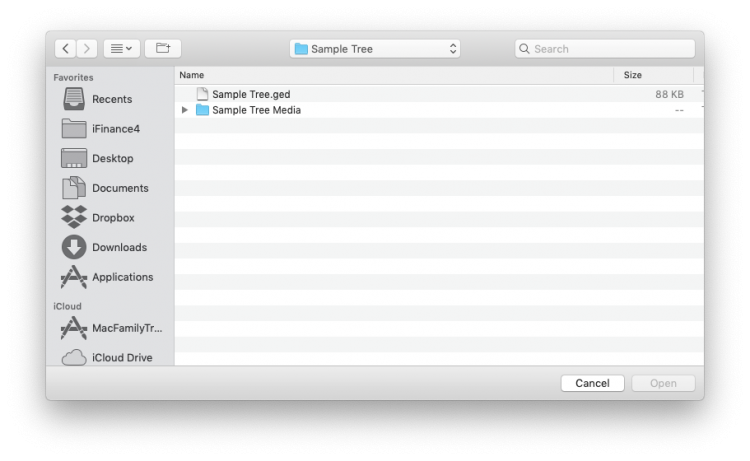
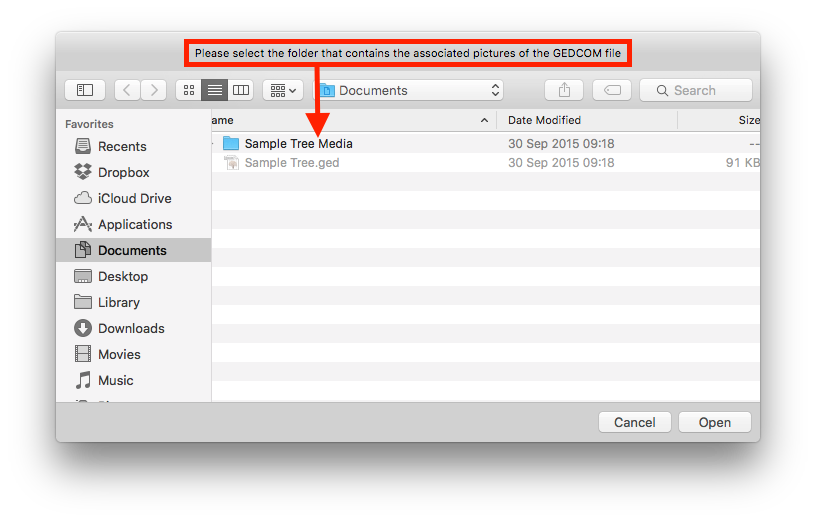
– You are asked for the directory where your media folder is stored. Please click on this folder ONCE – just select it, do not open it by double-clicking
– Connect your iPhone or iPad to your Mac using an USB/Lightning cable
– Open iTunes
– Select your iPhone or iPad
– Click on „File Sharing“
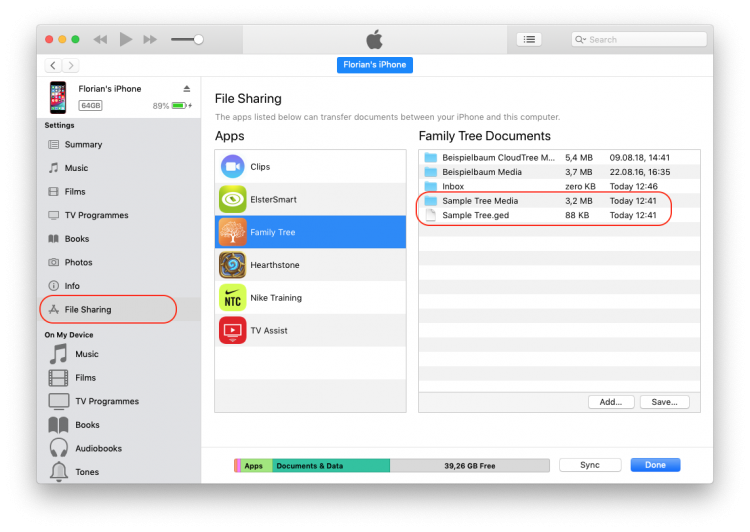
– Copy your family tree and the media folder to „FamilyTree“ as displayed on the picture above
– After your finished, sever the connection
– Launch MobileFamilyTree
– Chose the GEDCOM file you wish to import in MobileFamilyTree’s start window.
Attention: Media file import
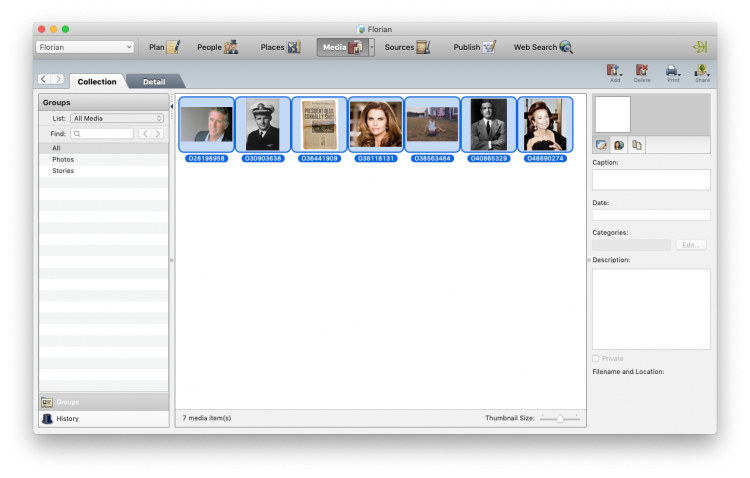
Media files are images, audio recordings or videos connected to persons, families or events in your family tree.
Not every version of Family Tree Maker allows you to export links to your media files. You can see if your version of Family Tree Maker allows you to do so, please check the export dialogue for „include media files“.
Unfortunately the developers of Family Tree Maker made the very poor choice of not importing media files but just linking them. Just Family Tree Maker knows where these files are and there are just links to those media files. Therefore, your media files might be distributed to multiple locations on your computer.
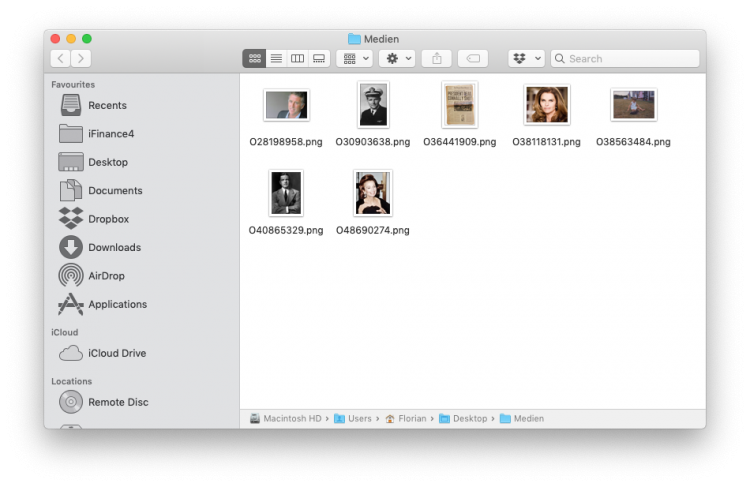
It’s mandatory for MacFamilyTree to import these files from a folder containing all media files like pictures, videos and audio files- and without any sub-folders.
Create such a folder by:
1. Create a new folder called media folder on your desktop
2. Open your family tree in Family Tree Maker
3. Go to Media
4. Select all media items by clicking into the Media Window, then hit Command-A (or CTRL-A on Windows keyboards)
6. Open your new media folder and paste all media items into this folder (Command-V or CTRL-V on Windows keyboards)